





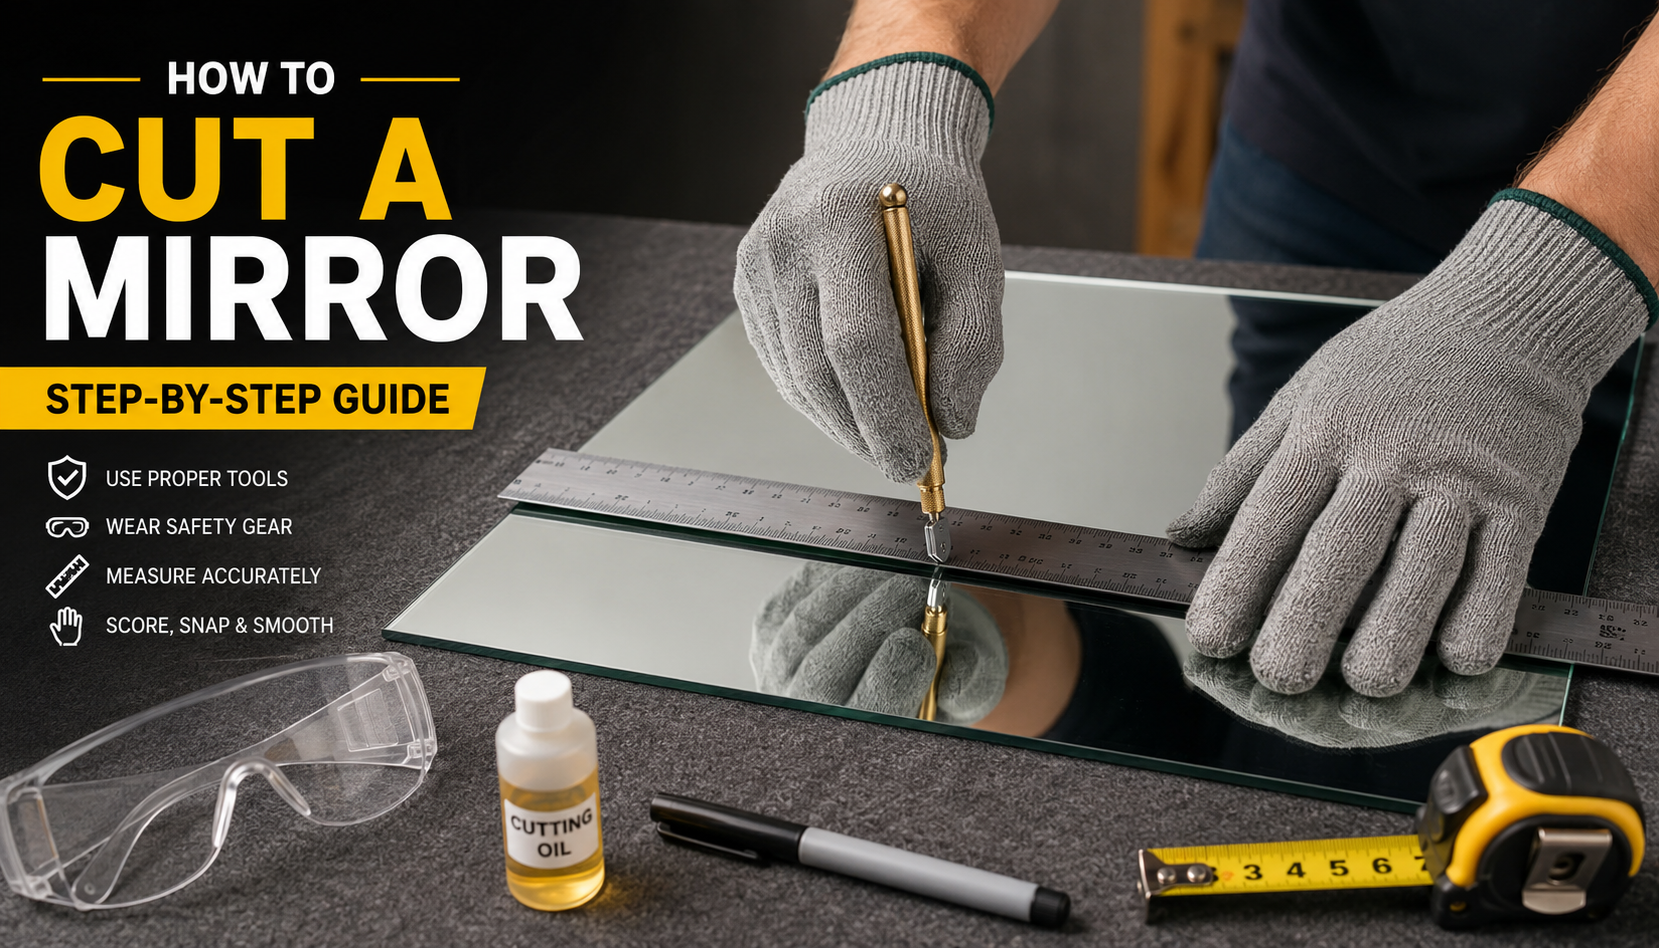
Mirrors are a practical and stylish addition to any home, but sometimes the size you buy isn’t the size you need. Whether you’re updating a bathroom, creating a custom wall mirror, or working on a DIY craft project, learning how cut a mirror properly can save you time and money. While the task may seem intimidating, it’s surprisingly manageable with the right tools, preparation, and patience.
This guide walks you through everything you need to know—from selecting the proper equipment to making clean cuts and avoiding common mistakes. By following the correct techniques, you’ll achieve professional-looking results while keeping safety your top priority.
Essential Tools and Safety Equipment Before You Start
Before attempting to cut a mirror, gather all the necessary tools. Using the proper equipment makes the job safer and greatly improves the quality of your finished cut.
Here’s what you’ll need:
- Mirror cutter or glass cutter with a carbide wheel
- Straightedge or metal ruler
- Permanent marker or wax pencil
- Measuring tape
- Cutting oil
- Safety gloves
- Protective goggles
- Long-sleeved clothing
- Soft cloth
- Sandpaper or glass sanding stone
- Flat work surface covered with cardboard or carpet
Safety should always come first. Tiny shards of glass can fly unexpectedly during cutting, so wearing eye protection and gloves is essential. Work in a well-lit area where you have enough space to handle the mirror comfortably.
Before making any cuts, inspect the mirror carefully. Never attempt to cut a cracked or chipped mirror because it can break unpredictably. Clean the surface thoroughly using glass cleaner so dirt or dust doesn’t interfere with the scoring process.
Taking accurate measurements is equally important. Measure twice and mark your cutting line carefully using a straightedge. Small measuring mistakes can ruin the entire project.
Preparing properly may take a little extra time, but it greatly increases your chances of making a clean, precise cut.
Step-by-Step Instructions on How to Cut a Mirror
Once your workspace is ready, it’s time to begin cutting. The process mainly involves scoring the glass rather than slicing completely through it.
Step 1: Measure Carefully
Use a measuring tape to determine the exact dimensions you need. Mark the cutting line with a permanent marker or wax pencil.
Step 2: Position the Straightedge
Place a metal ruler directly on the marked line. Hold it firmly so it doesn’t move while scoring.
Step 3: Apply Cutting Oil
A drop of cutting oil helps the glass cutter move smoothly while reducing friction. It also extends the life of the cutter wheel.
Step 4: Score the Mirror
Using steady pressure, pull the glass cutter toward you in one continuous motion.
Important tips:
- Only score once.
- Don’t go back over the same line.
- Listen for a soft scratching sound.
- Maintain even pressure from start to finish.
Step 5: Snap the Mirror
Move the scored line to the edge of your table.
Apply gentle downward pressure on the overhanging section. The mirror should snap cleanly along the scored line.
For smaller cuts, glass-running pliers make the process easier and reduce the risk of uneven breaks.
Step 6: Smooth the Edges
Freshly cut mirrors have sharp edges.
Use fine-grit sandpaper or a glass sanding stone to smooth them carefully. This step helps prevent cuts during installation and gives the mirror a finished appearance.
Common Mistakes to Avoid When Cutting Mirrors
Even experienced DIY enthusiasts occasionally make mistakes when cutting glass. Knowing the most common errors can help you avoid costly replacements.
One frequent mistake is pressing too hard while scoring. Excessive force can chip the glass instead of creating a clean score. On the other hand, applying too little pressure may produce a weak score that refuses to snap correctly.
Another common issue is scoring multiple times along the same line. Many beginners think repeating the score improves the cut, but it usually weakens the glass and causes jagged edges.
Using a dull cutter is another problem. A worn cutting wheel creates uneven scoring and increases the chance of breakage. Replace the cutter wheel whenever it begins losing effectiveness.
Poor workspace preparation also contributes to accidents. Cutting on an uneven table places stress on the mirror and makes clean cuts nearly impossible.
Many people also rush the snapping process. Glass naturally follows the scored line if handled correctly. Forcing the break often causes unexpected cracks.
Finally, skipping safety equipment is never worth the risk. Even tiny fragments can cause injuries to your hands and eyes.
Taking your time and working carefully almost always produces better results than trying to finish quickly.
Tips for Achieving Professional-Looking Results
Professionals rely on consistent techniques rather than expensive equipment. You can achieve similar results by following a few proven practices.
Always purchase a high-quality glass cutter. Inexpensive tools often produce inconsistent scoring, making clean cuts difficult.
Keep your cutter wheel lubricated with cutting oil throughout the project. Smooth movement leads to more accurate scoring.
Support the mirror evenly across the entire work surface. Any unsupported areas create stress points that may crack unexpectedly.
For long cuts, maintain a comfortable body position before beginning. Moving naturally helps you keep consistent pressure throughout the scoring process.
Practice on inexpensive scrap glass before cutting your final mirror. This helps you become familiar with the proper pressure and movement.
When working with large mirrors, ask someone to assist you. Extra support prevents accidental drops and makes handling much safer.
After cutting, polish the edges gently using fine sandpaper or a sanding stone. This simple finishing touch makes the mirror safer to handle and improves its appearance.
Patience remains one of the most valuable tools in any mirror-cutting project. Careful preparation almost always produces cleaner, more professional results.
When Should You Hire a Professional Instead?
Although many homeowners successfully complete simple mirror-cutting projects, some situations are better left to professionals.
Large wall mirrors can weigh hundreds of pounds and become dangerous to handle alone. Specialized equipment helps professionals move and cut these safely.
Antique mirrors deserve extra caution because older glass often becomes more fragile with age. Replacing an antique mirror after a failed cut may not even be possible.
Custom shapes such as circles, arches, curves, and decorative designs require specialized cutting equipment and years of experience.
Tempered mirrors present another challenge. Once tempered, the glass cannot be cut. Attempting to do so causes the entire mirror to shatter into small pieces.
If your project involves expensive decorative mirrors, beveled edges, or installation inside built-in cabinetry, hiring a professional may ultimately save money by avoiding costly mistakes.
Professional glass shops also polish edges with commercial equipment, creating an exceptionally smooth finish that’s difficult to duplicate at home.
If you’re uncertain about your skills or feel uncomfortable handling glass, there’s no shame in leaving the job to an expert.
Conclusion
Learning how cut a mirror isn’t as difficult as many people expect. With the proper tools, careful measurements, and the right technique, you can successfully customize mirrors for home improvement projects, furniture, or decorative displays. Remember that preparation is just as important as the cutting itself. Wear protective gear, score the glass only once, and avoid rushing the process. If your project involves large, valuable, or unusually shaped mirrors, professional assistance is often the safest option. By following these best practices, you’ll enjoy cleaner cuts, safer handling, and beautiful finished results every time.
Frequently Asked Questions
Can I cut a mirror with a regular glass cutter?
Yes. A quality glass cutter is designed to score both standard glass and mirrors effectively.
Do I need cutting oil?
Yes. Cutting oil reduces friction, protects the cutter wheel, and helps produce smoother scoring.
Can tempered mirrors be cut?
No. Tempered mirrors cannot be cut after tempering. Attempting to do so will cause them to shatter.
Why did my mirror crack while cutting?
Cracking usually happens because of uneven pressure, multiple scoring attempts, poor support, or existing damage in the glass.
How do I smooth sharp mirror edges?
Use fine-grit sandpaper or a glass sanding stone to carefully remove sharp edges after cutting.
Is mirror cutting dangerous?
It can be if proper safety precautions aren’t followed. Always wear gloves, eye protection, and work on a stable surface.


